THE EARLY HISTORY OF PHOTOGRAPHY
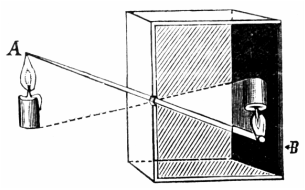
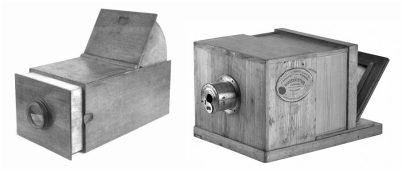
Before photography, only paintings and sculptures were used to capture moments, however there was never the opportunity to fix or change the artwork, until photography which originated in the Renaissance due to the increasing interest in realism. One of the first photographic instruments that was used by artists was the camera Obscura. This lead to the invention of photography. Camera Obscura it's a dark room that has a small hole on one side . A projection is made when light passes through that hole onto a specific part of the back wall. Unfortunately camera Obscura made the image project upside down.
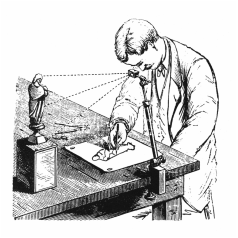
Camera Lucida was created when the technology developed in 1807 by Sir William Hyde Wollaston. The difference between a Lucida camera and Obscura was that, camera Lucida was a portable prism on an adjustable stand which allowed the artist to see the scene in front of them as well as their hand, this allowed them to trace what they were looking at perfectly. Camera Lucida was a useful instrument to use in 1800s because it allowed the artists to accurately transfer what they were looking at onto the paper. This made painting portraits easier because camera Lucida allowed to achieve the realistic look.
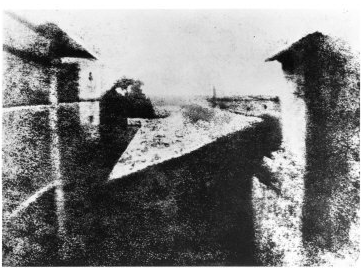
The first photograph was created by Joseph Nicephore Niepce in 1826, of the view from his window in Le Gras, South of France. This first photograph was achieved after 8 hours of exposure, that is why the light reflects on two sides of the buildings. Niepce named this a heliograph. To create the first photograph Niepce set up a camera obscura and within it. he placed a polished pewter plate that was coated with bitumen of Judea. But because of the very poor quality he started working with Louis-Jacques-Mande Daguerre.
|
After Niepce's death, Daguerre published his own new photographic processes - he created a daguerreotype, which was able to capture great detail. The daguerreotype needed a long exposure to create an image, but the length of the expose was reduced from hours to minutes, so it was more practical than Niepce's heliograph. |
|
At the same time as the daguerreotype was created an English scientist and artist, William Henry Talbot, created the first negative/positive photographic process; it was another type of photograph called the Calotype. However, the photographs created with the Calotype lacked sharpness and quality. France and England were in competition when it came to the photography development, because the daguerreotype was very popular in many European countries and in America, so it was hard for the English Calotype to out run the daguerreotype.
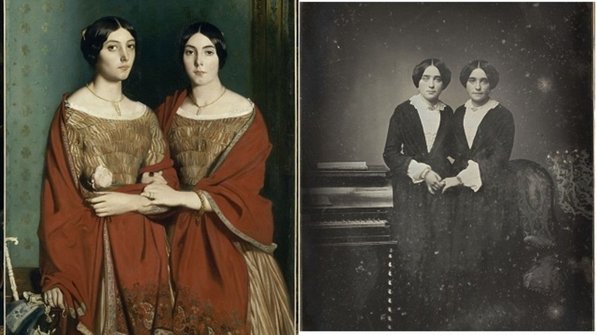
All of this was invented during the industrial revolution. A big part of why this happened, was because people had more access to new materials and chemicals which allowed them to experiment. When photographs were invented some people believed that it was the end of paintings. The paintings reflected a lot in photography, especially in portraiture, for example in the anonymous portrait of two sisters eerily similar to Theodore Chasseria's painting. This was because photographers stole techniques and styles that were used in paintings, as photography was a new technology that still had its limitations.
PHOTOGRAMS
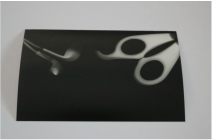
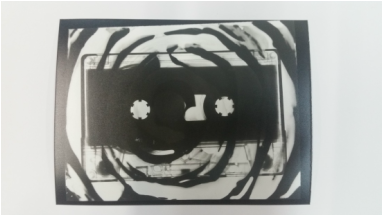
Photogram is a technique used in photography. It involves creating a photo without using a camera, but by using light, as the main factor, as well as sensitive paper. A photogram is created when objects are placed directly onto the sensitive paper and when it is then exposed to white light. After the sensitive paper has been covered in three different chemicals, the areas of the paper that were covered by an object will stay white, as it was not exposed to light. However if there was any areas of the paper that were not covered it will turn to black when put into the developer chemical.
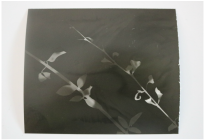
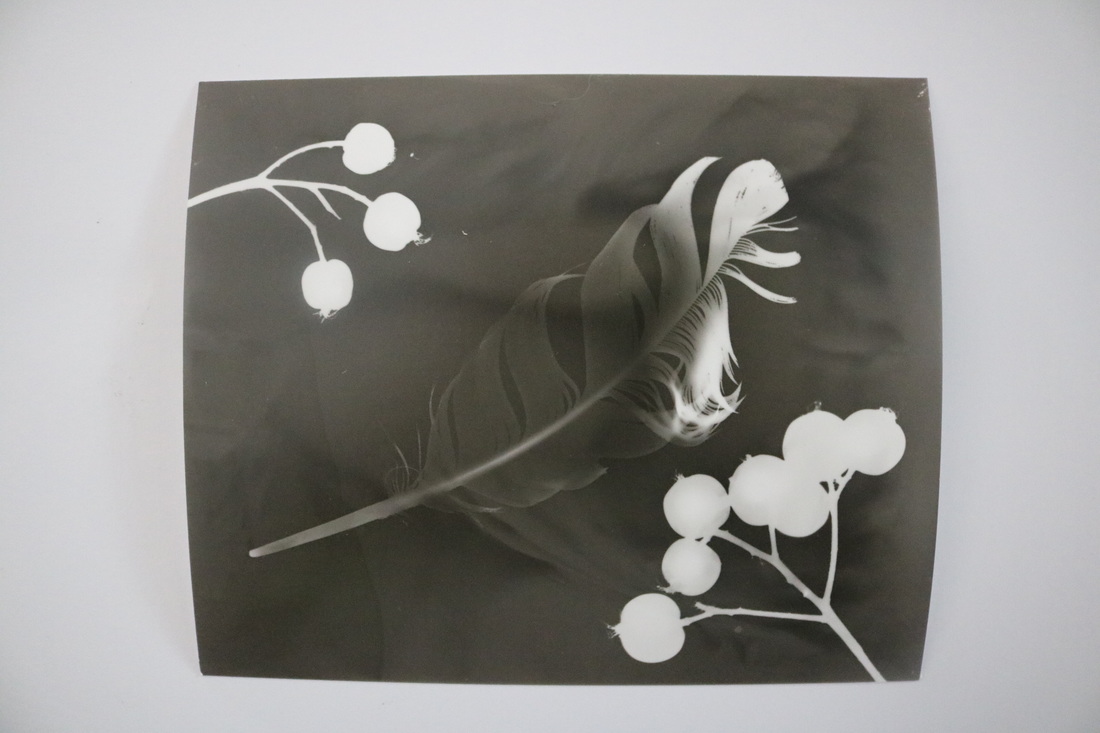
I need to create some practice photograms (as seen below) in order to understand how light aperture and exposure time affected the photograms. With the first two photograms I made the mistake of not keeping them in the developer chemical for long enough as I was worried that the patterns will fade away. That is why the background is grey and has faded smudges. When I was taking the third photogram, I didn't realise but the light aperture was too high so that's why even solid objects seem a bit faded and one object didn't appear at all after being developed. The fourth photogram turned out the best because the area of the paper that wasn't covered by an object is really black, as it should be, and all of the objects are clear and visible. This is because the light aperture was low and I kept the photogram in the developer chemical for longer.
|
|
|
|
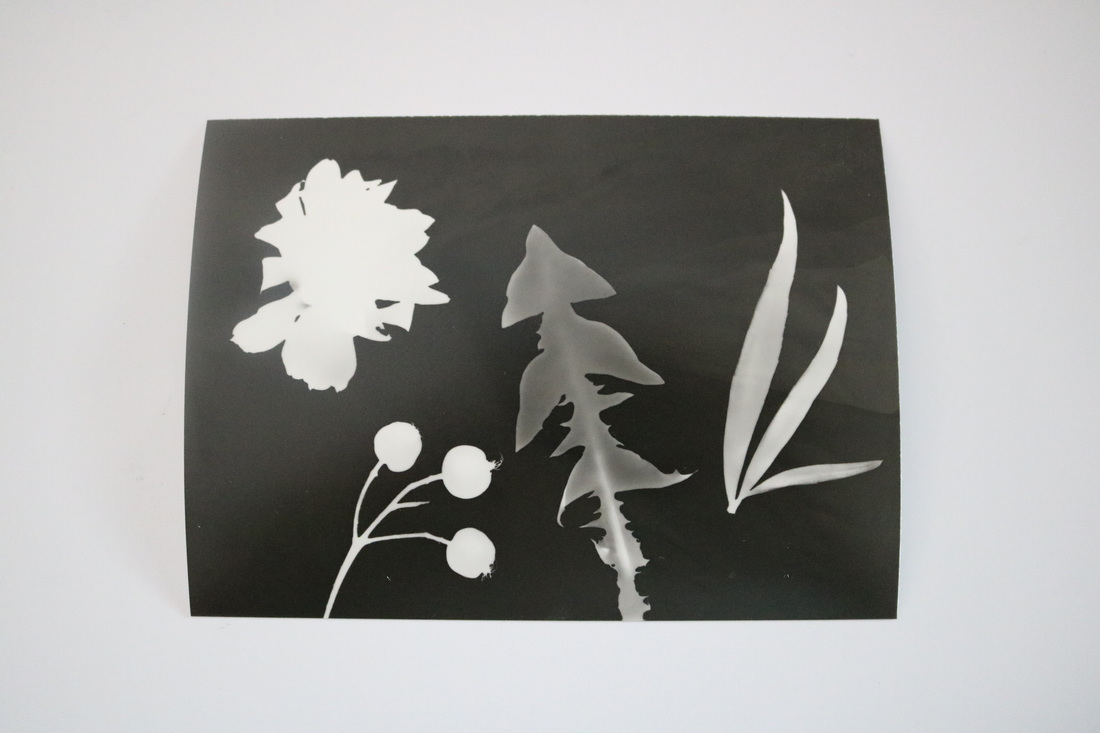
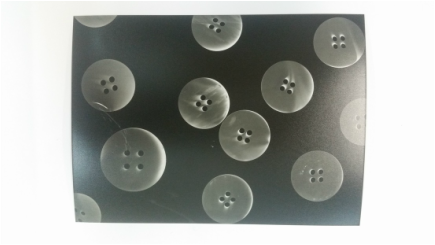
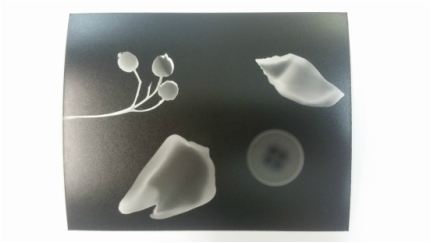
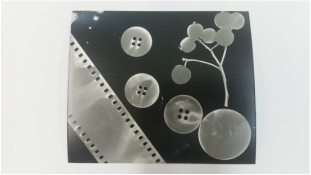
NORMAL PHOTOGRAMS
For the first two photograms that I've attempted I used the normal technique of simply placing the objects directly onto the sensitive paper and then exposing them to light for 3 to 5 seconds.
|
|
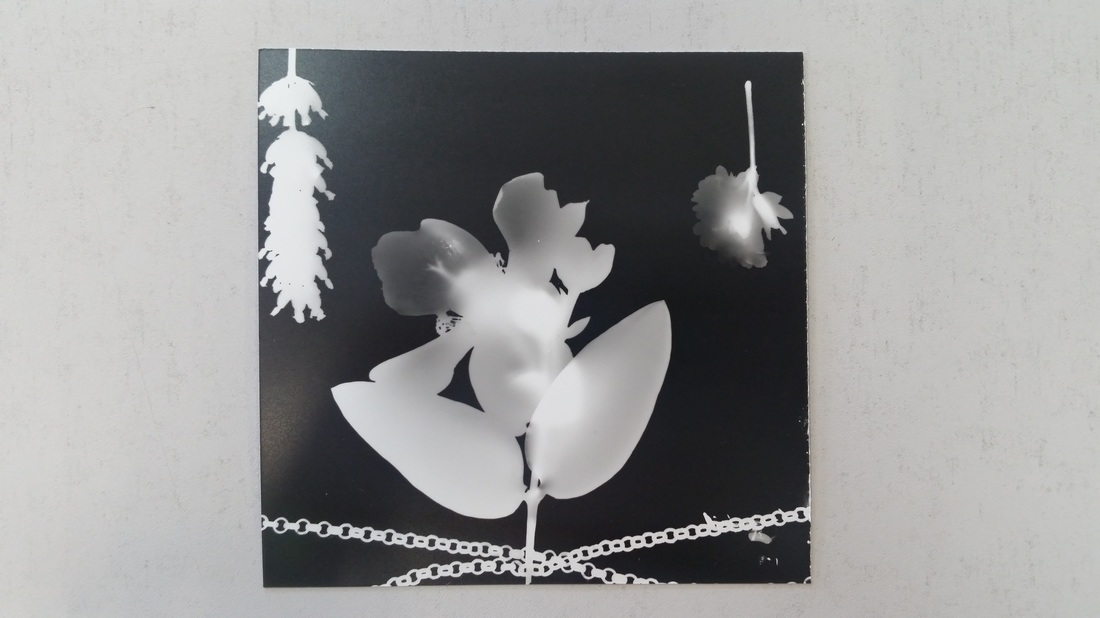
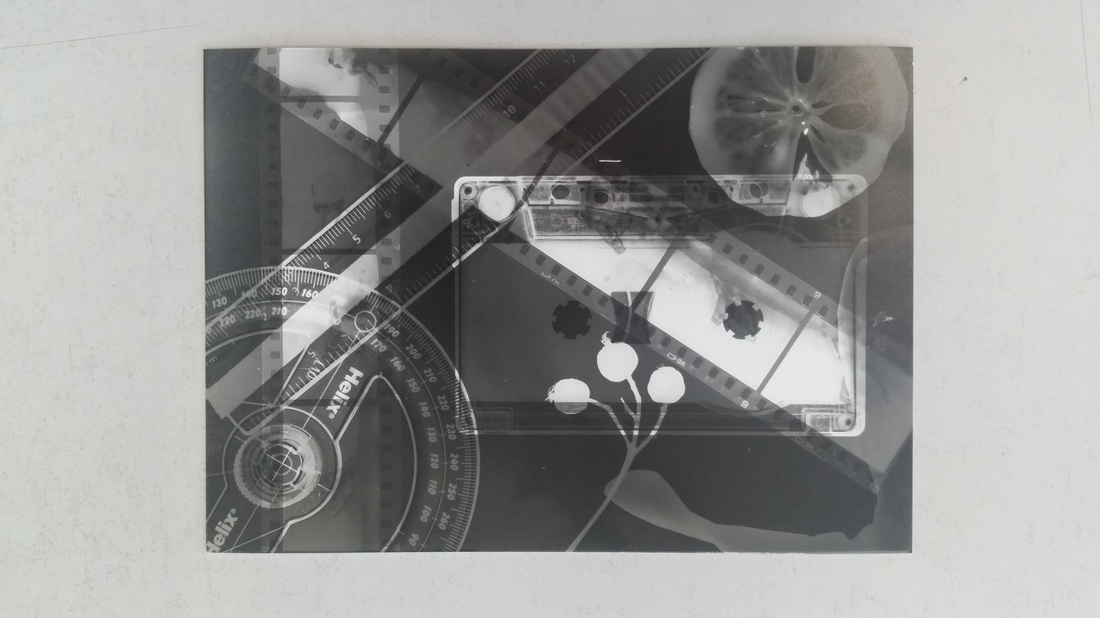
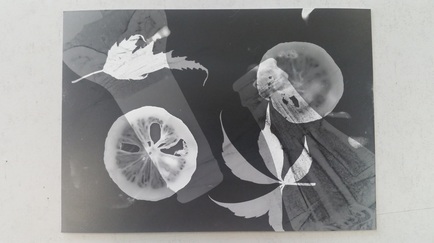
DOUBLE EXPOSURE PHOTOGRAMS
Then I decided to try out the double exposure technique which meant that I placed 2 layers of objects on the paper. Firstly I would place the first set of objects on the paper and expose it to light for 1 second, on low aperture. Then, I would take off all of the objects and create a new design with new objects and expose that for 3 seconds.
|

|
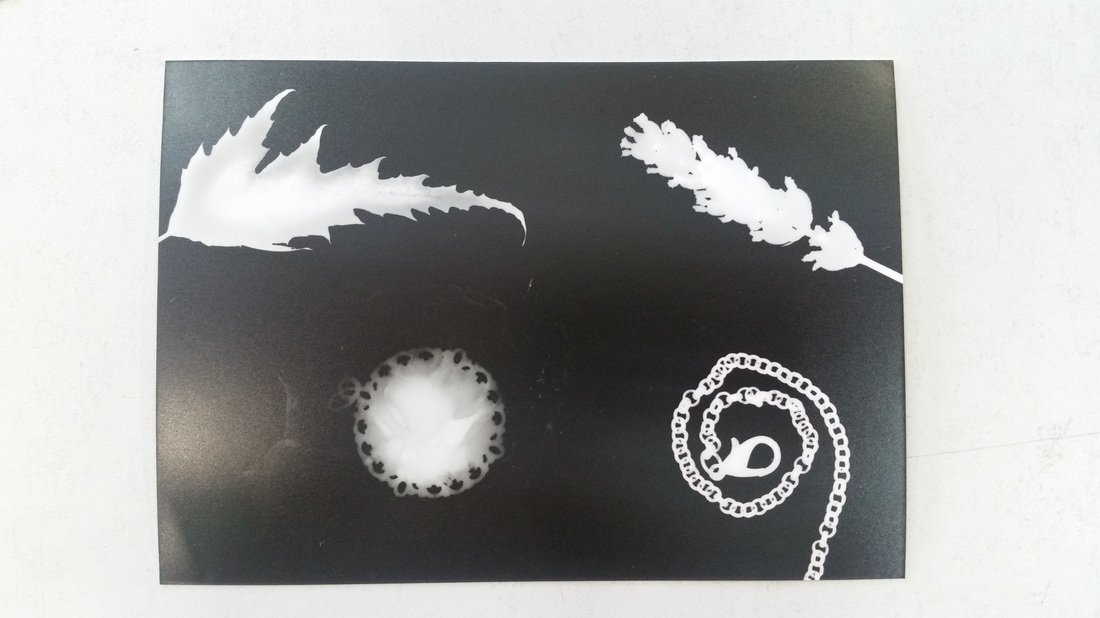
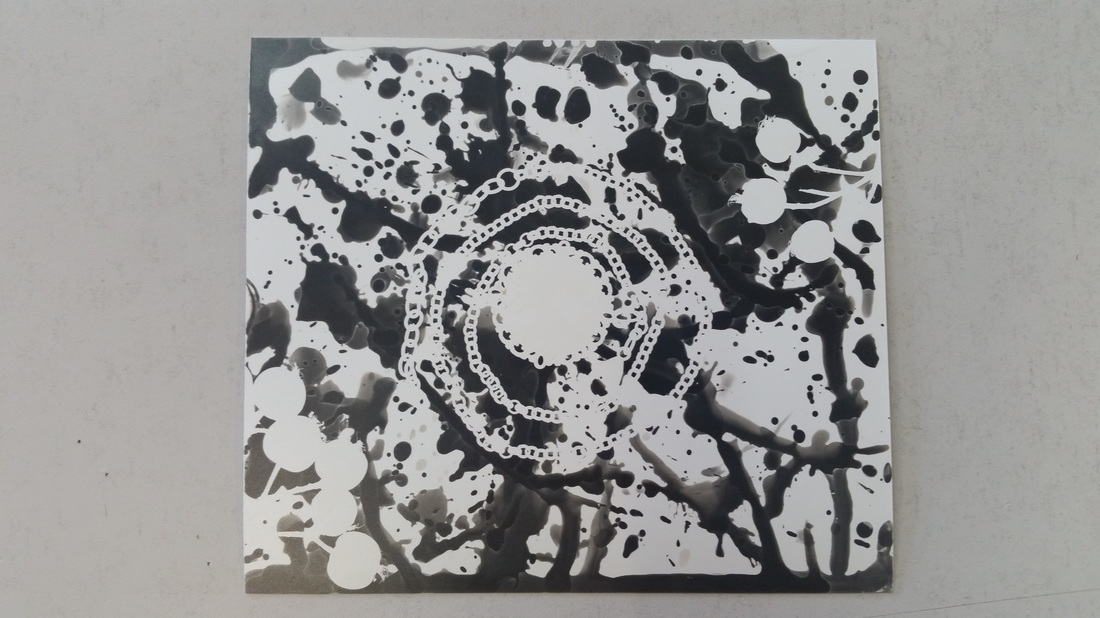
PAINTED PHOTOGRAMS
Another technique involved painting on the developer chemical instead of placing the whole paper in it. This technique allowed a lot of creativity with the way I wanted the photograms to be developed. For example the first photogram I created by painting the chemical as circles all over the paper, however the second one, I flicked the paintbrush to create a very messily developed photogram.

|
|
SOLARISATION TECHNIQUE PHOTOGRAMS
Solarisation is another technique that can be used when creating photograms, that make the objects look like they have an outline. To create this effect the paper has to be put in the developer chemical until it starts to turn grey, but not black. It then has to be placed under the light again.
|
|
|
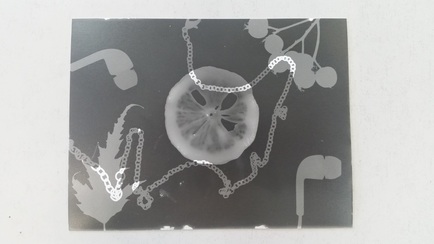
TWO FINAL PHOTOGRAMS
I decided to use the double expose technique for my two final photograms. I really liked the effect of transparent object when using this technique so I included objects such as bottles and lemons.
|
|
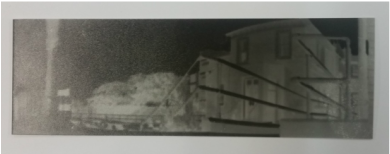
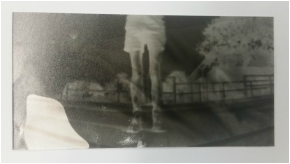
PINHOLE CAMERA
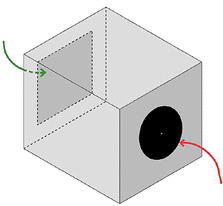
Pinhole camera is a camera based on camera obscura, and it is one of the simplest cameras. It consists of a black box or a completely black room, with a tiny hole on one side of it that lets in light. This tiny hole acts as "the lens" as it captures what the camera is pointing at and the light becomes inverted and projected on the other side of the room/box. I created my photos using a pinhole camera made out of a pringles box - it had to be covered in black tape to make sure that no light passed through and the tiny whole had to be covered up, and only exposed to light when I picked a location or an object to take a photo of. At first it was challenging to decide how long the exposure had to take place for. If I was taking a photograph outside on a sunny day the exposure lasted 5 to 6 seconds, whereas if I was inside where there were more shadows, the exposure took 3 to 4 seconds.
|
|
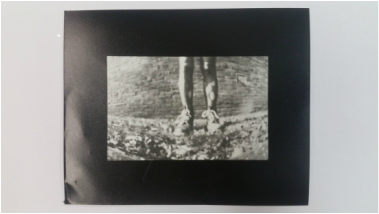
SANDWICH PRINT PHOTOGRAMS
When developing the photos that I took using the pinhole camera, they were all negative. To create a positive print out of them, I had make a sandwich print of them. A sandwich print was creating by placing the negative facing down on a larger piece of photographic paper placing a glass plate on top of it so that the photo would transfer correctly. Before creating the final sandwich print, it was important to create a testing print. This meant setting the timer of the exposure to two seconds and exposing fractions of the photographic paper at a time, to do this I used a black piece of paper to only expose parts of the paper. After developing the testing print I could see what exposure time worked best for this particular image and then I could develop my final sandwich prints.
Creating sandwich prints meant reversing a negative image to a positive; all the black areas of the photo would change into white and the white areas to black.
Creating sandwich prints meant reversing a negative image to a positive; all the black areas of the photo would change into white and the white areas to black.
|
|
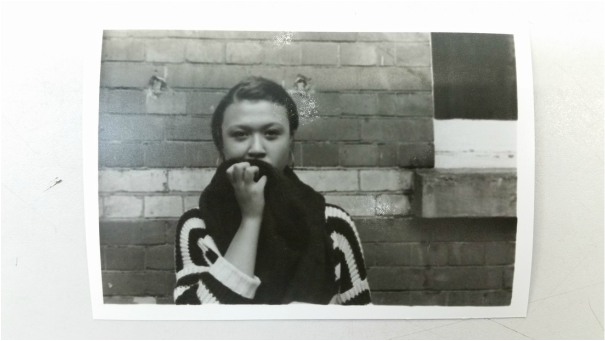
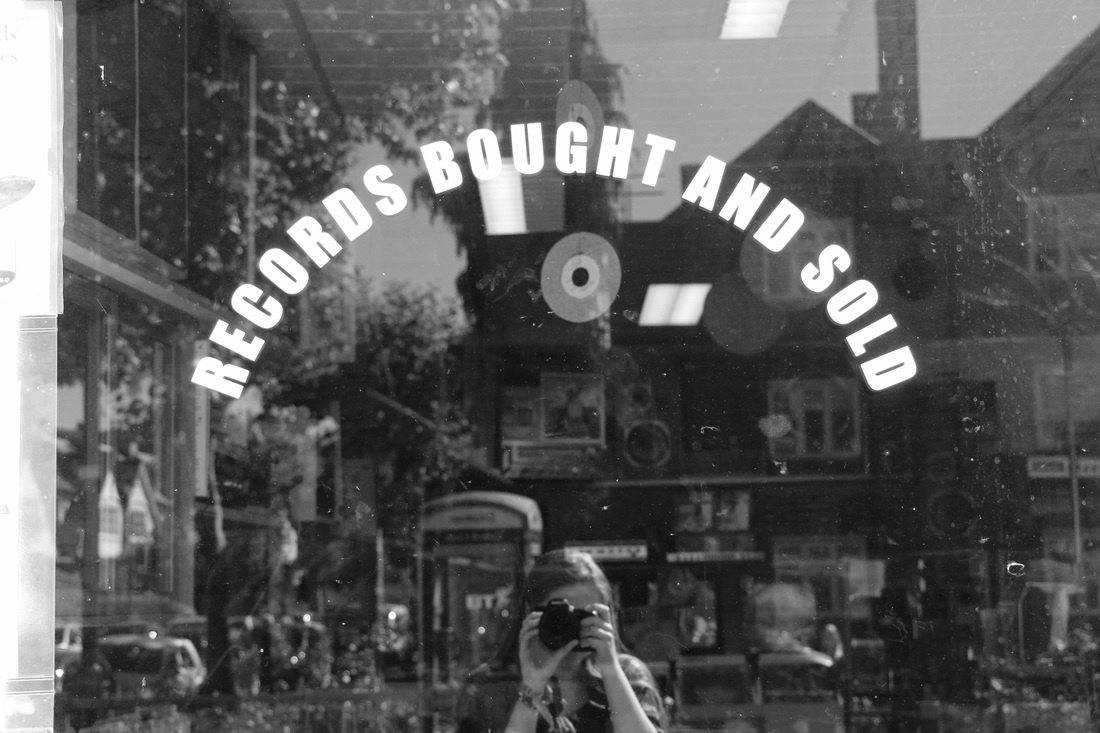
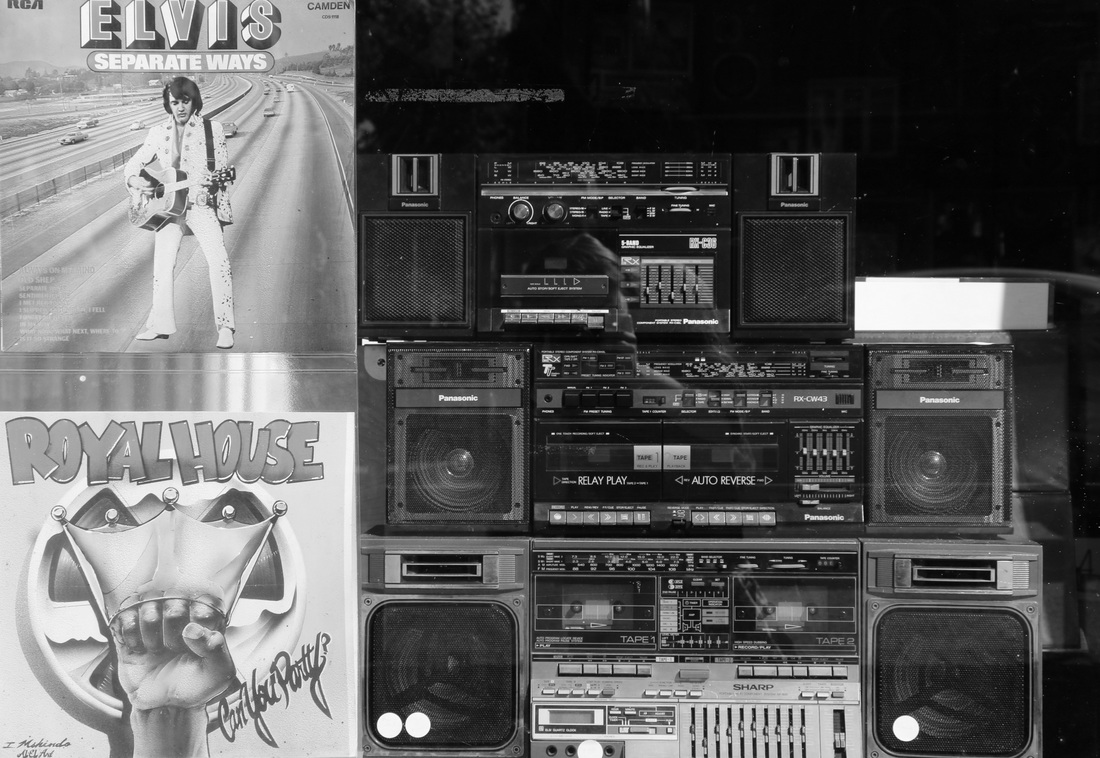
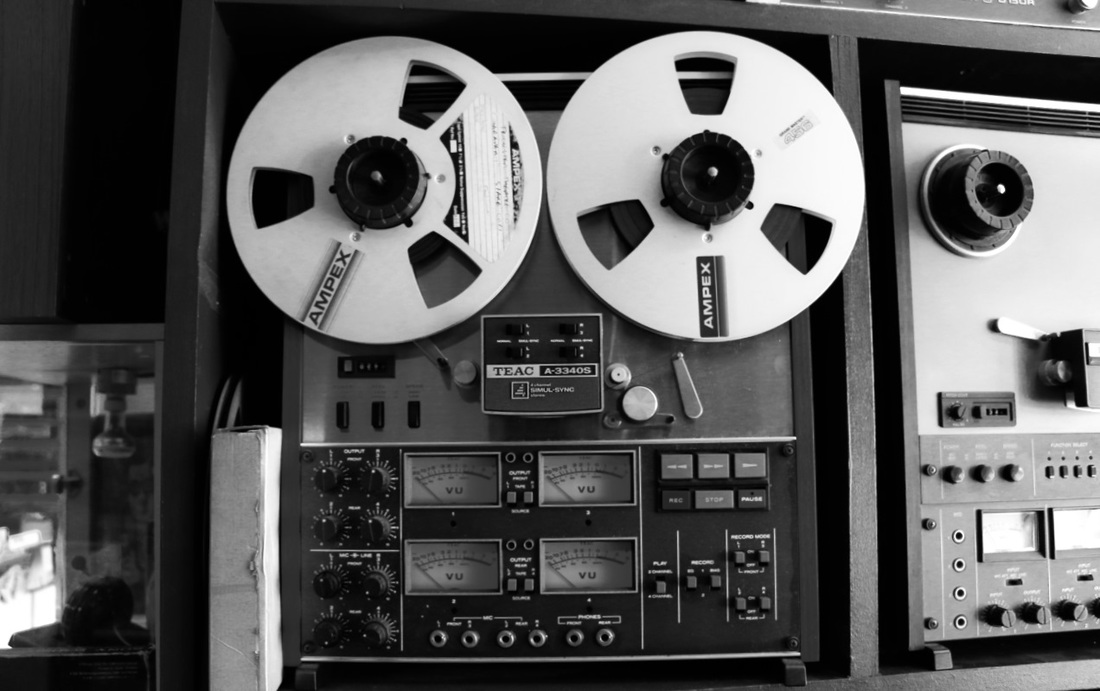
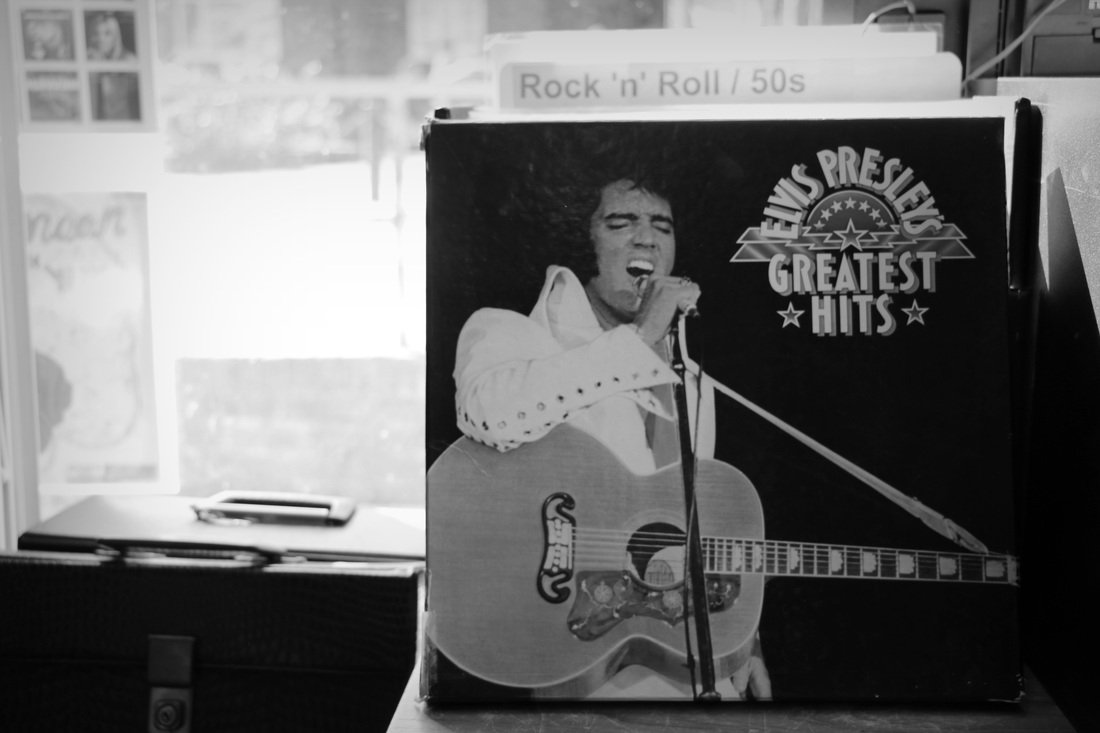
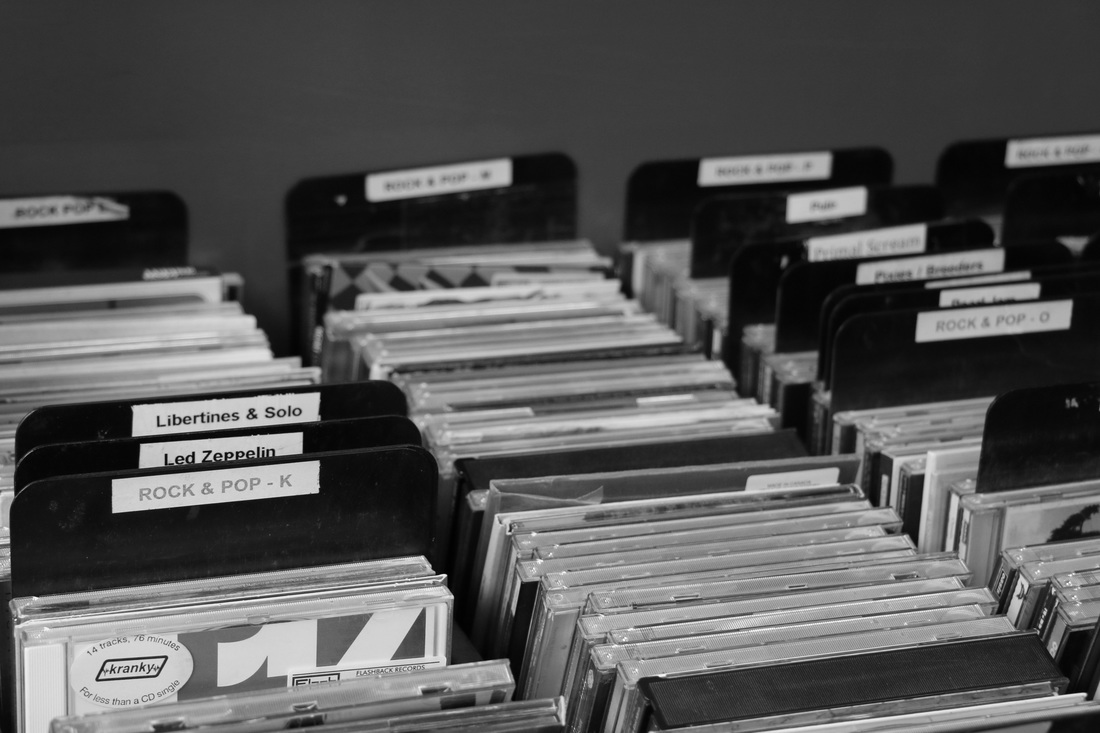
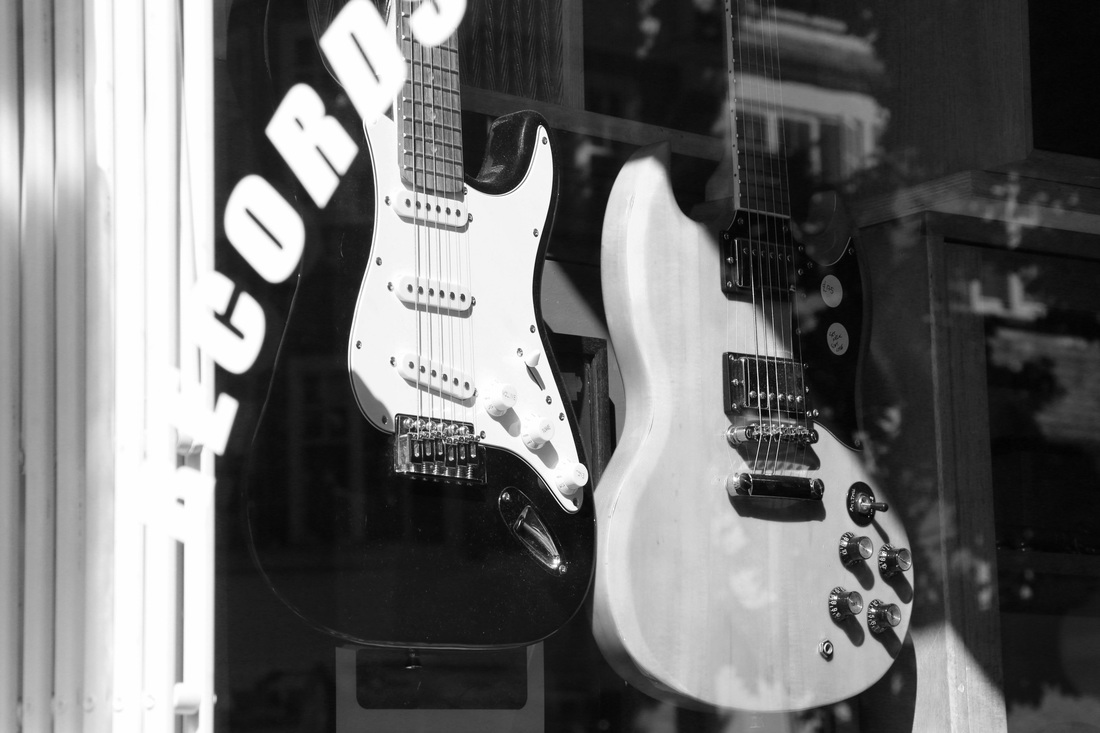
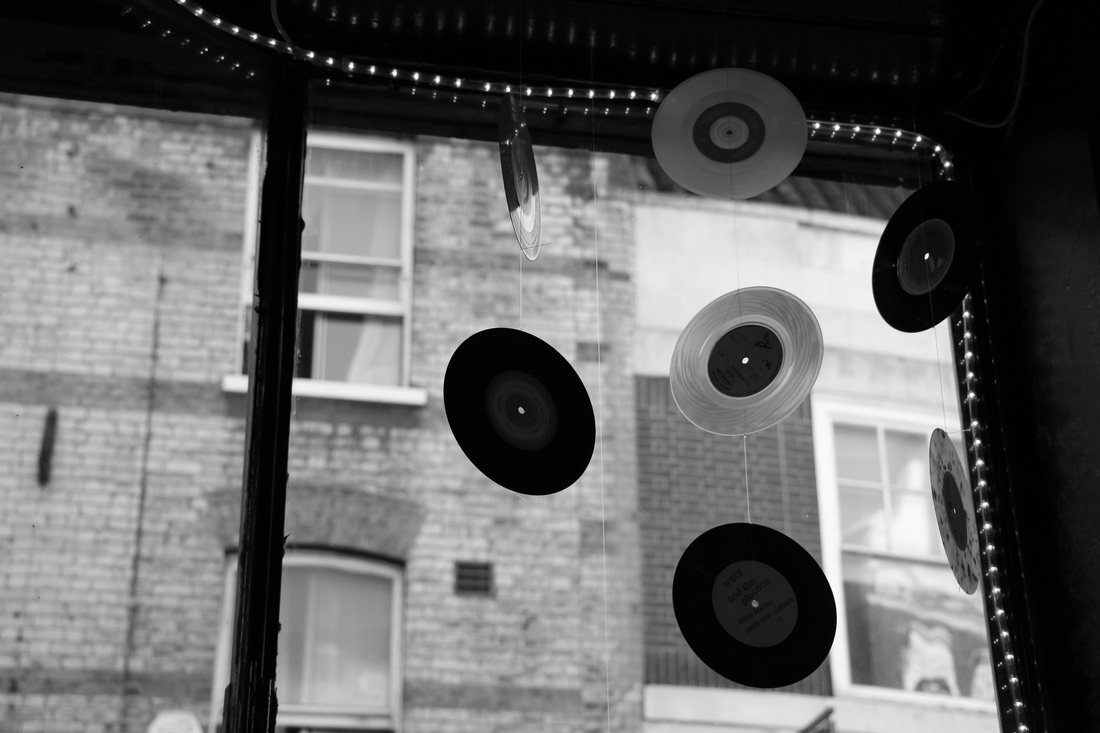
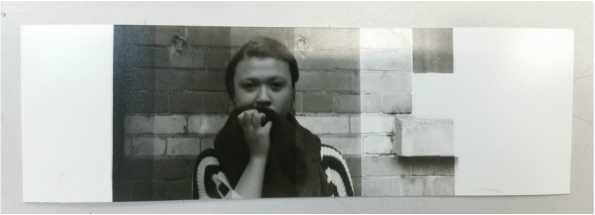
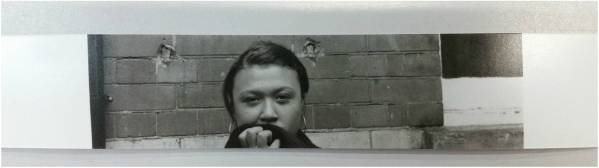
THE RECORD STORE - DOCUMENTARY PHOTOGRAPHY
These photos were taken in two different record stores, one was located in Hornsey and the other one was in Crouch End. I decided to take photos in record stores because it's a big part of my identity. I really love old music and finding new music, and I spend most of my spare time in record stores or listening to music. I edited all of my photos black and white to give the photos an older vibe so that they will relate to the music that I listen to and the music that was playing in the record store.
|
|
|

|
THE FILM CAMERA
In a film camera, the light enters through the lens which sharpens the image. A film camera allows the photographer to have more control over the intensity of the light (aperture) as well as the exposure time. A film camera includes a mirrored shutter which allows the photographer to see what they're taking a photo of, this is helpful because the photographer can then focus on the composition, and get exactly what they want in frame.
When the shutter release is pressed the light enters. The shutter speed can be set manually on a film camera. The brighter you want the image the longer the shutter speed should be, because more light is entering through the lens. Long shutter speed requires a stable surface that the camera has to be placed on, for example a tripod, otherwise, if the camera is just being held then the image may just turn out blurry.
Another manual function that can be done on a film camera is setting an aperture. The aperture is a hole in the lens that can be adjusted (bigger or smaller) depending on the amount of light you want. If the hole is smallest, f/16, then only a small amount of light can pass through, and when the aperture is set high, f/2.8, then a lot of light can get in. The "f-stop" is a term used to describe the size of the hole. The aperture can also be used to control the depth of field in a photo. The lower the f-stop, the blurrier the background. The film camera also requires the photographer to manually focus, which can be found at the end of the lens. The aperture also links to the depth of field in a picture. The lower the f-stop then the depth of field is going to be greater, the depth of field also depends on how close or far an object is to the actual camera.
THE CONTACT SHEET
|
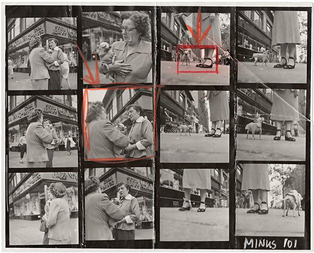
The contact sheet is usually something that is only seen by the photographers themselves and it includes all the photos that they took. When a photographer want to capture the perfect moments, he needs to capture a few not so perfect/ordinary moments, and they if they're lucky they may stumble across the perfect moment and will have their camera ready to capture it. The photographer then has to pick one or two good photos out of 10 ordinary photos. |
|
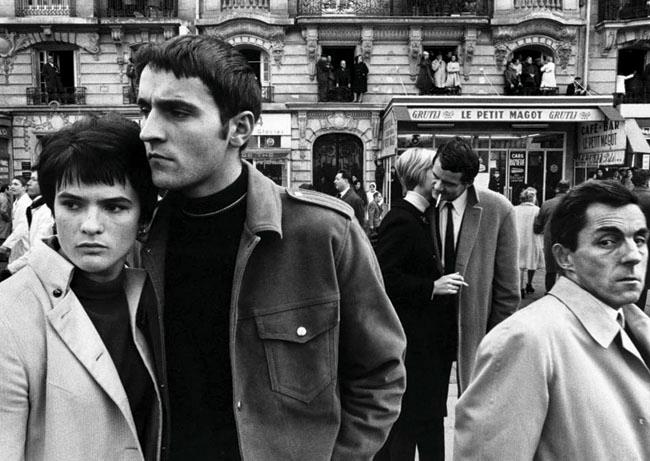
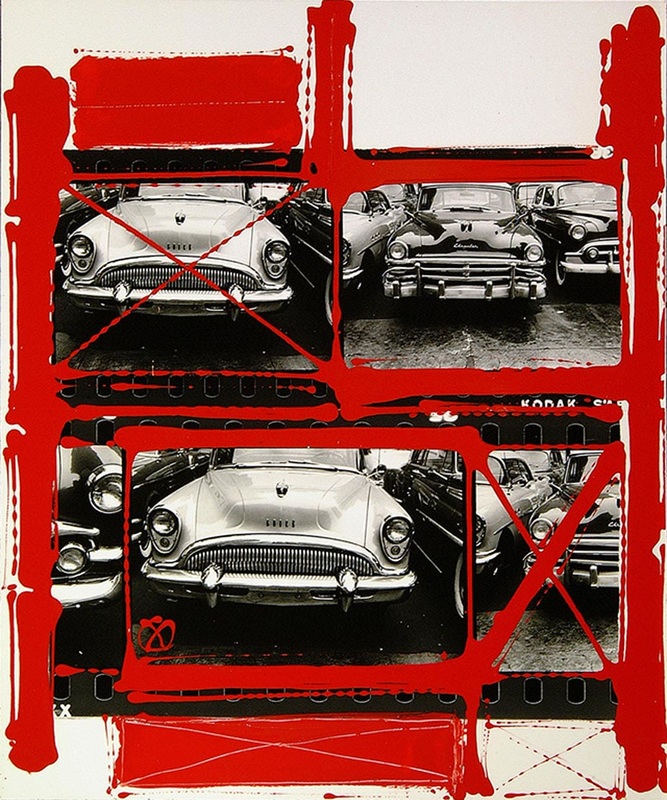
William KleinWilliam Klein is a photographer and a film maker, he is mostly known for his ironic approach shown in his black and white photos. His photos centred around street photography and fashion, because he was a photojournalist as well as a photographer that was hired to do several jobs for companies such as Vogue. Klein believed in a 'perfect' shot, this can be seen in his contact sheets. He took a lot of photos just to then select one perfect one out of 100. A perfect shot would have a great composition and would have a meaning behind it. I tried doing the same thing, I took more than one photo every time I found an interesting shot.
|
|
|
DEVELOPING FILM PHOTOS
Before developing my own photos, I tried developing a test film strip. Firstly, I placed the film strip in a spool funnel, making sure the specific photograph that I want to develop is placed directly in the 35mm hole. Then, I had to take a test photograph. In order to do this I needed a timer, a black piece of paper and a strip of photographic paper. I placed the photographic paper and starting to expose it to light. I covered most of the photographic paper with the black card and exposed parts of the paper to light for 2 seconds. So the exposure varied from 2 to 10 seconds. Then I developed that test strip and needed to evaluate which exposure was the best for that particular photo - in this case it was 5 seconds.
After I had to develop another strip to see if 5 seconds was the good exposure and see how it would look like on the whole photo.
Finally, I developed this as a 5"x8" photograph.